
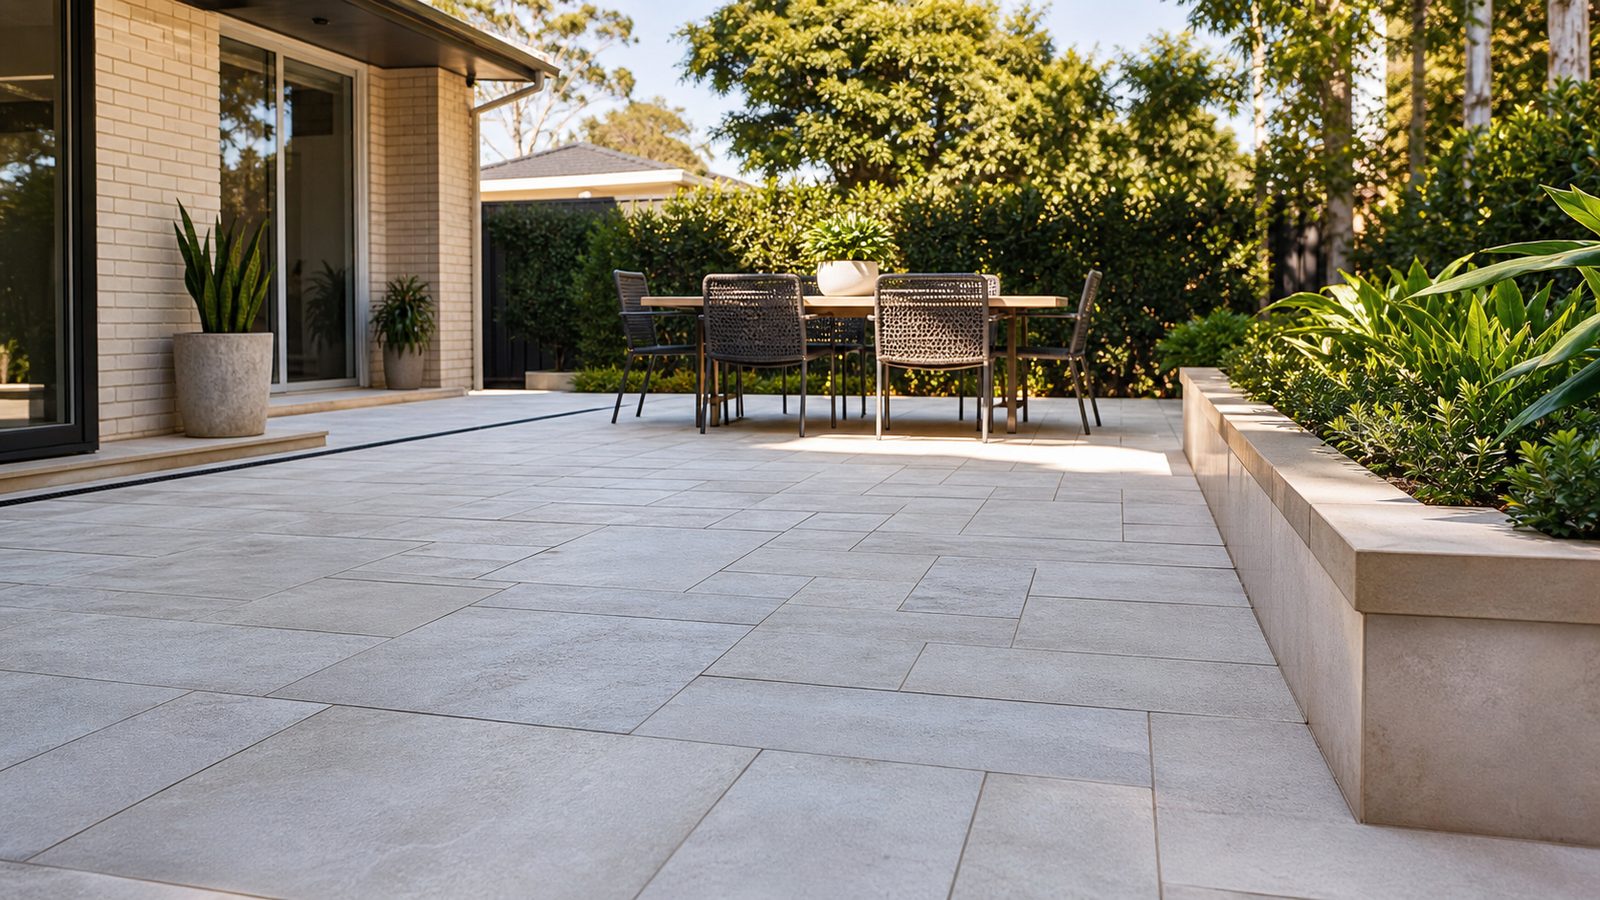
Let the available material inform the design
A reclaimed paver project starts with two inventories: the area you want to create and the material actually available. Drawing an elaborate layout first and then hoping to find matching salvage can make the project difficult. Instead, identify the main use of the space and the parts of the design that can change. A garden sitting area, side path or defined panel within a larger landscape may offer useful flexibility in shape and finish.
Record where the pavers came from, what is known about them and whether they are already lifted. A seller's description such as driveway pavers is a starting point for questions, not proof of suitability for a new driveway. The installer needs to assess the material and the proposed application. Ask what product identification or other evidence would help, particularly where vehicle loads, pool exposure or a specialised installation system are involved.
Separate the appeal of the material from the cost of making it usable. Reclaimed stock may require transport, sorting, assessment and additional handling. Some pieces may be unsuitable, and a mixed pile may contain several formats. Ask for those activities to be included in the project discussion before comparing the purchase price with new material. The useful comparison is the complete installed scope, not the advertised price of an unexamined stack.
Create a batch record before buying more
Treat each source or visibly different group as a separate batch. Photograph the faces, edges and any accessible identifying marks without lifting heavy units or dismantling unstable stacks. Ask the supplier or contractor to provide representative dimensions and condition information. Keep the records together so a later purchase can be compared with the first batch. Similar colour in an online photograph is not enough to establish that two groups will lay together neatly.
Dimensions matter in more than one direction. Length and width affect the pattern, while thickness affects the proposed installation system and final levels. Ask the installer how variation will be handled and whether different groups should be kept in separate areas. Mixing unlike units through one field may create unnecessary complexity. Deliberate panels or borders can sometimes make the material differences useful, provided each group is suitable for its intended position.
Record quantities in a way that can be checked. A seller may describe a pile by estimated area, pallet count or number of units. Ask what that estimate includes and whether it assumes every piece is usable. Your contractor should establish the quantity needed for the actual layout, including cuts and suitable spare stock. Avoid turning a rough advertised area into a final order quantity before the batch has been assessed.
Distinguish character from unacceptable condition
Weathering, tonal variation and worn edges may be part of the appearance you want. Cracking, significant damage or unknown contamination raise different questions. Ask the installer to assess representative material and explain which pieces are suitable for the intended use. Do not rely on a quick visual judgement that everything old is either charming or defective. The decision depends on the product, condition and the work it is expected to do.
Agree on the appearance you are prepared to accept. A reclaimed garden path might deliberately include varied colours, while a formal entrance may need a more controlled selection. Photograph representative acceptable pieces and examples that should be excluded. This gives the person sorting the stock a practical reference and avoids discovering during installation that the homeowner and contractor have different meanings for rustic.
Cleaning should be discussed before it is promised as a solution. Unknown stains, coatings or residues may not respond as expected, and aggressive treatment can change the surface. Do not grind, sand, chip or apply chemical mixtures to unidentified reclaimed material. Ask a suitable professional to identify what is present and what treatment, if any, is appropriate. The layout should not depend on an assumption that every mark can be removed later.
Choose between blending and separate zones
A blended field distributes variation throughout the area. Separate zones keep each batch together and use a deliberate transition between them. Compare both approaches with representative pieces before deciding. Blending can make small differences feel intentional, but only if the formats and installation requirements are compatible. Zoning may be more practical when batches differ substantially in dimensions or available quantity.
Consider where each zone belongs. The largest consistent batch might form the main walking area, while a smaller compatible batch becomes a border or a separate sitting space. Avoid placing the most variable group where a straight line or formal pattern will emphasise every difference. Ask the installer to show how the chosen arrangement works at corners, doorways and connections to existing surfaces, because those interfaces may determine the most sensible allocation.
Do not use a decorative transition to conceal a technical mismatch. Different materials still need a suitable support, joint and edge arrangement. Ask how the junction will be built and maintained. If the reclaimed paving meets a new patio, coordinate the finished levels using the patio interface guide. A planned visual boundary can be useful, but it does not remove the need to design the pavement beneath it.
Test the pattern with real units
A trial arrangement reveals more than a catalogue sketch when the material is reclaimed. Ask the contractor to place representative units in the proposed pattern, including an edge or corner if possible. Review the spacing, colour distribution and appearance from ordinary viewing distance. The trial should use the actual batches, because a neat mock-up made from a different product does not answer questions about the stock you intend to use.
Look at how the pattern handles dimensional variation. Some arrangements make long continuous lines more prominent, while others create a different visual rhythm. The installer should advise which are technically suitable for the material and intended use. Avoid asking the contractor to make inconsistent units fit by changing joints arbitrarily. The pattern needs to work within the requirements of the selected paving system, not just look plausible in one small patch.
Use the trial to confirm what happens when a batch runs short. Can the area finish at a defined border, can a separate zone change size, or would the whole pattern depend on finding more matching material? These questions are easier to answer before the first permanent section is laid. For a vehicle area, the driveway set-out guide adds questions about turning movements, borders and the main alignment.
Design stages with complete stopping points
A staged project should leave each finished area usable and each unfinished area managed appropriately. Ask the contractor to identify sensible boundaries, temporary edges and household access between stages. Avoid stopping a pattern halfway through its main visual field simply because the available stock has run out. A deliberate panel boundary or change in use can make the staged arrangement easier to understand and complete later.
Keep material allocation separate from the order of construction. You may need to reserve suitable units for a visible final stage even while an earlier, less prominent section is being built. Label the intended batches and agree where they will be stored safely. Otherwise, the best matching stock may be consumed in a hidden area, leaving the later entrance or border dependent on another uncertain salvage purchase.
Hypothetical example: a household has one consistent batch of rectangular pavers and a smaller group with a different tone. The first batch is allocated to a continuous side route, while the second becomes a separate garden seating panel. The contractor assesses both uses and designs the transition. The owner can then complete the areas in separate stages without pretending that a mixed supply will produce one uniform surface.
Include handling and storage in the scope
Reclaimed material may arrive in a less convenient form than new packaged stock. Ask who is responsible for unloading, sorting and moving it to the work area. Identify a safe storage location that does not obstruct household access, services or construction routes. Heavy stacks and loose piles should be managed by people equipped for the task. Do not assume the homeowner will move material repeatedly to make space for other trades.
Discuss what happens to rejected pieces and surplus material. Some may be useful as spare stock only if they are suitable and clearly identified; other pieces may need appropriate disposal. Agree who makes that decision and where material will remain while the work proceeds. A project can become cluttered and difficult to manage if every uncertain piece is kept indefinitely in the hope that it might fit somewhere later.
If the project is near retained trees, include storage and delivery access in the tree assessment. A location that looks empty may still be part of an area needing protection. The paving near trees guide explains why the work footprint extends beyond the finished path. Coordinate this before delivery so the only convenient storage space does not become a late conflict with the approved landscape arrangement.
Keep a useful record for future alterations
Once the layout is agreed, save the batch photographs, dimensions, any known product identification and the material allocation plan. Record which group went into each area. A simple labelled photograph of the finished work can help a future contractor identify where suitable replacement units might come from and which sections should remain distinct. This is particularly useful when the original supplier cannot provide more of the same stock.
Agree what spare material is worth retaining and how it will be stored safely. The installer can help choose pieces that are useful for likely future repairs, including complete units rather than only leftover fragments. Label them with the area they match and keep the care information with the project record. A small, organised reserve is more useful than an unidentified pile whose condition and dimensions must be rediscovered years later.
For existing paving that is being repaired rather than redesigned, start with the segmental paving assessment page so the cause of any movement is addressed separately. This guide concerns the material and layout decisions for reclaimed stock. Bring your batch record and proposed uses to the first enquiry, and use the checklist below to identify what still needs assessment before committing to a purchase or construction plan.
Prepare your project brief
Check what is known about the available batches before committing to a layout. Missing entries become stock, suitability or staging questions. This tool does not reserve materials or submit a request.
Work through the batch record and identify what needs checking before purchase.