
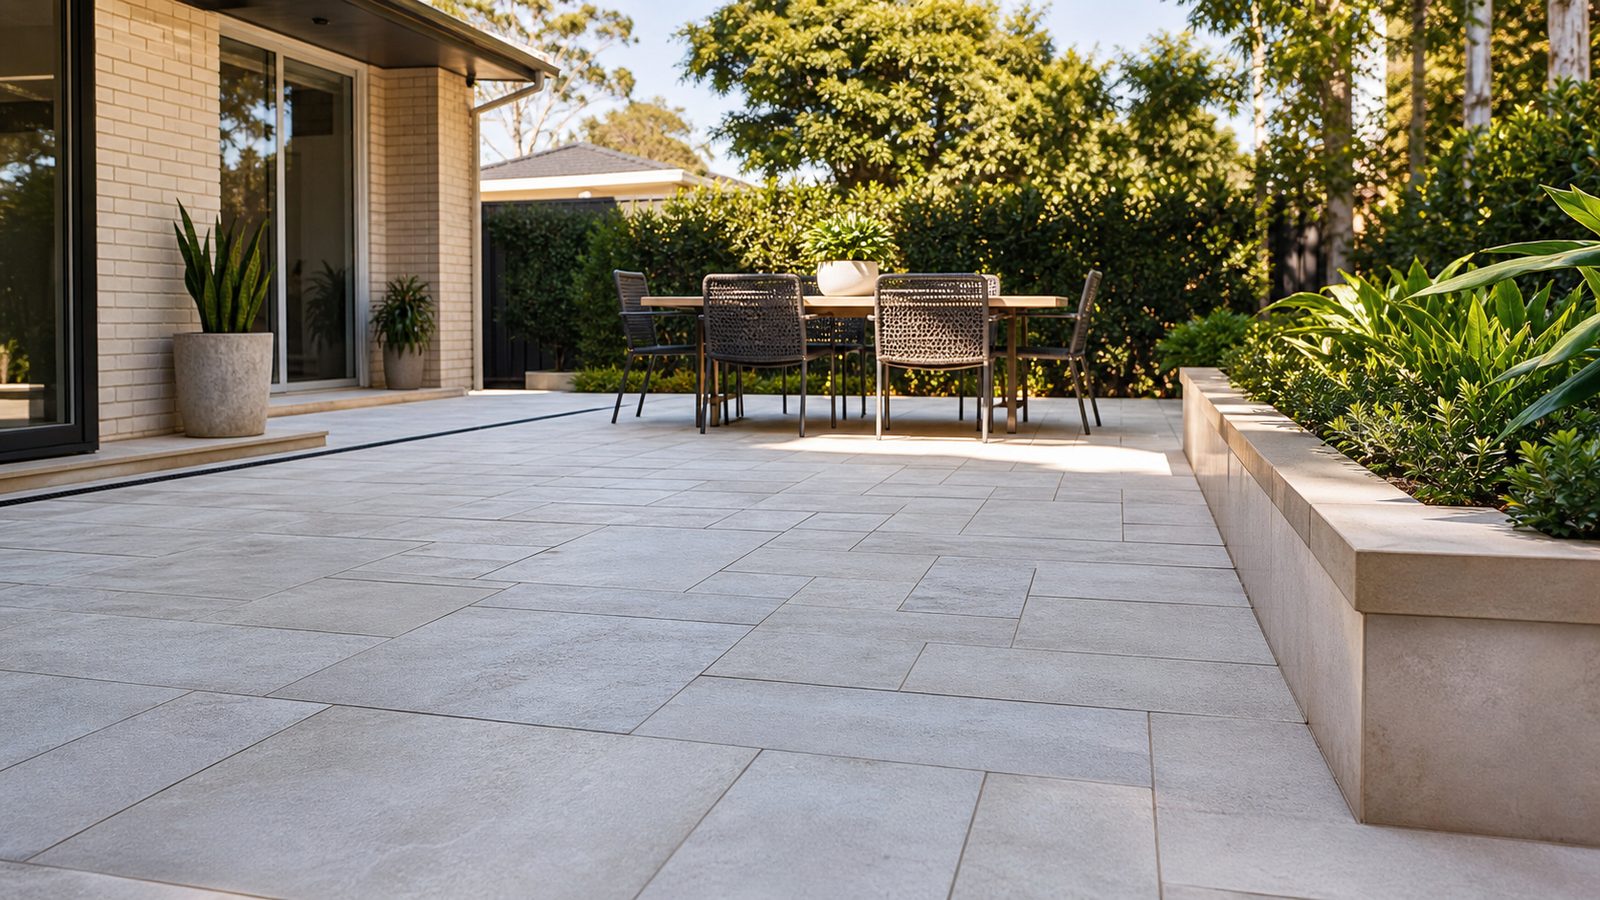
Map the fixed points before selecting thickness
Begin a patio level brief with the things that are difficult to move. Mark every external door, the house wall, existing drain grates, the lawn edge and any steps or adjoining paths. Include changes in the building facade, because a brick wall, a sliding door frame and a rendered section may have different details at ground level. A simple plan with labelled photographs is enough for the first conversation; a contractor can then establish the actual levels.
Record where people enter the patio and what they carry. The main dining room opening might need space for a tray, while a laundry doorway needs a clear route to the clothesline. These uses influence the landing and circulation arrangement. Do not let a preference for a visually continuous indoor and outdoor surface decide the final level before the building and drainage details have been assessed. Appearance is one input to that decision.
Paver thickness, bedding or adhesive, supporting construction and the existing ground all affect the final surface. Ask for the proposed build-up to be described as a complete system. A thin-looking paver does not necessarily create a small overall height increase. If you are comparing two materials, have the contractor explain how each changes the levels at the fixed points, rather than comparing only the thickness stated on the product label.
Treat each doorway as its own junction
Photograph the bottom of each doorway from outside and from a wider angle showing the surrounding wall. Capture the frame, sill, current step and any visible drainage detail without removing covers or altering the building. Ask the builder or appropriate building professional to identify the clearances and weatherproofing requirements that apply to that opening. One doorway's workable solution may not transfer to another door on the same patio.
A raised outdoor surface can affect more than the apparent step. It may approach wall openings, inspection zones or components that need to remain exposed and accessible. Identify those features during the site assessment. Do not cover them simply to achieve a straight paving line. The relevant building details should control the junction, with the paving design fitted around them. This guide deliberately avoids giving a universal clearance dimension for different wall and door systems.
If easy access is an important household requirement, describe the actual need early. A pram, walking aid, wheeled trolley and ordinary foot traffic raise different movement questions. Ask for a coordinated design of the doorway, landing, paving and drainage rather than a promise that removing a visible step will solve everything. Where specialist access advice is needed, obtain it before the paving levels and door alterations are fixed.
Follow the water beyond the patio edge
Observe existing water behaviour from a safe, dry position during ordinary rain. Note where runoff arrives, where it gathers and where it appears to leave. Photographs taken at different times can help distinguish a short-lived wet patch from a recurring collection point. Record the timing and conditions instead of presenting a single image as proof of the cause. Do not enter flooded areas or lift drainage covers to investigate.
Ask the contractor to explain the proposed surface-water route in plain language. The explanation should connect the patio surface to an identified drainage arrangement, rather than stopping at the phrase falls away from the house. Water reaching a garden bed or an adjoining path still needs consideration. The design should account for neighbouring levels and existing building drainage, with a suitable drainage professional involved where connections or capacity need assessment.
Look at interruptions along that route. A border, step, planter base or later garden edging may obstruct a path that appears clear on an empty drawing. Mark those features now. When comparing layouts, ask what happens at the junction between surfaces, not only in the middle of the patio. The patio paving service can be discussed alongside this interface brief so the finish and water management are considered together.
Decide whether an existing slab is a useful starting point
Covering an existing slab can appear convenient because the broad shape is already there. Before relying on it, ask for an assessment of its condition, movement, drainage and suitability for the proposed paving system. A visually tidy slab may still have levels that do not work with new material above it. Conversely, visible weathering does not by itself tell you whether removal is required. The decision needs more information than a photograph of the surface.
Request a comparison of the finished levels for retaining the slab and for removing it. Include doors, wall interfaces, drains and adjoining paths in both options. This often reveals whether the apparent saving creates extra work elsewhere. For example, keeping the slab may change a step arrangement or the treatment around a drain. Ask which extra details are included in each scope and which remain provisional pending assessment.
Existing joints also need consideration when a new finish is proposed. Ask the designer or installer how movement in the support will be accommodated in the chosen system. Do not assume that covering a crack or joint makes it disappear as a technical issue. Request the manufacturer's installation requirements for the proposed paving or tile system and an explanation of how the site proposal follows them. Keep that information with the quote.
Design garden and lawn connections as working edges
The patio's outer edge has to meet something: soil, lawn, gravel, a retaining element or another paved surface. Decide how each connection will be used. A lawn edge beside a regular walking route needs a different conversation from an ornamental bed behind furniture. Mark where a mower travels, where garden maintenance takes place and where people are likely to step off the paving. These observations help avoid an edge that looks tidy but works poorly.
Discuss the final garden levels rather than the temporary level of bare soil during construction. Future mulch, soil improvement or turf can change the relationship to paving. Ask the landscaper and paving contractor to agree which finished levels each is working to. A shared drawing reduces the risk that one trade finishes neatly and the next unintentionally buries an edge or creates a low point beside it.
Raised beds and heavy planters deserve specific attention. Record their location, intended contents and any drainage needs before the pavement is designed. Do not assume that a patio suitable for ordinary furniture has been assessed for every concentrated load. If a retaining structure forms the patio edge, coordinate its design separately rather than treating it as decorative edging. Leave structural assessment to the appropriate professional and include the interface in both scopes.
Make grates and access points part of the layout
Drain grates, inspection points and service covers should remain usable after paving. Photograph their positions and ask who will confirm their required access and finished levels. The paving pattern can then be arranged around those fixed elements. Moving a visible cover on a sketch does not mean the underlying service can be moved conveniently. Confirm any proposed relocation with the relevant trade before using it as the basis of a design.
Think about furniture when choosing the visible arrangement. A drain hidden under a large dining setting may become inconvenient to inspect and maintain. A cover placed at the main chair position may interrupt the way the space is used. Draw the actual furniture footprint and the space needed to pull chairs out. It is easier to alter the furniture arrangement or pattern on paper than after a permanent junction has been built.
Ask how the grate or cover will be removed for ordinary maintenance and whether the surrounding paving affects that access. Include cleaning and inspection instructions in the handover information. Avoid choosing a detail solely because it is visually discreet. The ability to see, reach and maintain drainage components is part of a practical patio, particularly beside doors where a blocked or neglected component could change water behaviour.
Coordinate shade structures and future work
Tell the contractor about any planned pergola, outdoor kitchen, new door or extension, even if the work is not yet booked. Future footings, services and drainage may interact with the paving. The useful question is which items need design coordination now, rather than whether everything must be built at once. A suitable staged plan can preserve access to future work and avoid placing the most decorative paving where another trade expects to excavate.
Hypothetical example: an Officer household wants a paved dining area now and a roofed outdoor space later. Before setting the patio height, they ask the building designer to identify likely support positions and the future roof-water route. The immediate paving can then be laid to an agreed boundary, with the future work shown as a separate stage. This turns an uncertain future addition into a specific coordination question.
Also consider construction access. A finished patio may become the delivery route for later materials, so ask how it would be protected and who is responsible for that protection. Record whether the proposed staging affects spare material quantities or the ability to match a later extension. If reclaimed pavers are being considered, the reclaimed paver planning guide explains how stock availability can shape a staged layout.
Prepare a level brief that can be checked
Bring together the plan, doorway photographs, drainage observations, furniture arrangement and future works list. Mark which points are measured by a professional and which are only homeowner observations. This distinction prevents a rough sketch from being mistaken for a construction drawing. Ask for the finished paving levels and key interfaces to be confirmed in the project documentation before material ordering or excavation begins.
At the pre-start discussion, walk through the route from the house to the garden using the drawing. Ask where each transition occurs and who is responsible for it. If an item is described as by others, identify that trade and the sequence. The paving contractor, builder, drainage contractor and landscaper may each have a small part, but the completed junction needs one coordinated outcome. Write down unresolved decisions instead of leaving them as assumptions.
During handover, review those same points: doors operate as intended, agreed access points are available, garden connections follow the plan and maintenance information has been supplied. Discuss any departure from the drawing with the contractor. For a linked route along the house, read the side access planning guide. Use the checklist below to collect the information for an enquiry without trying to design building clearances yourself.
Prepare your project brief
Build a list of fixed points for the patio assessment. Mark the photos and observations already collected; the remaining entries identify gaps in your level brief. These ticks are local to this page.
Check which door, drainage and garden details are ready for review.